6 Easy Ways To Stop Your Coil From Burning
By ashtray Blog
How do you tell if your coil is burnt out?
If your coil is only slightly burnt, you may get a slight burnt taste, as if something’s not quite right. Given that we know that burnt coils can produce harmful chemicals, you should probably still change it.
Occasionally, you’ll also get a burnt taste when you have just replaced a burnt out coil. Sometimes this will disappear after a few puffs, but at other times you may need to replace the e-liquid.
Why Do Coils Get Burnt (Even When They’re New)
If you want to avoid burnt coils, the most important thing to understand is why coils get burnt in the first place. This is really simple and it underpins all the advice given in this post.
First, think about when you’re vaping but not getting a burnt taste. When you hit the fire button, electricity flows through your coil and it gets hot. The heat given off by the coil is taken up by the e-juice, which is soaked into the wick, and it turns the juice into vapour. Because you have the juice there to take up some of the heat energy given off by the coil, the temperature of the coil doesn’t get too high.
When the juice in the wick has been vaporised, the wick dries out a little. However, you have a tank full of e-juice surrounding the coil, and this is constantly replacing the juice in the wick. This means that by the time you go to take another puff, the wick is soaked again and everything works as it should.
But what happens when there’s no juice in the wick, or just not enough? Now, when you hit the fire button and the coil heats up, there isn’t much there to take up that additional heat. As a result, the temperature of the coil increases. This leads to two (equally unwanted) things happening:
The juice remaining in the wick gets “overcooked,” heating up to an excessive degree and causing the PG to breaking down into formaldehyde. In case this needs clarifying: formaldehyde tastes absolutely gross.
Without anything to protect it from heat, the wick is directly exposed to the glowing-hot coil. Since it’s probably made of cotton, the wick burns. If the wick was completely dry, it would literally erupt in flames.
So How Can We Stop Our Coils From Burning Out?
Well, from the above, it’s clear that the key thing we need to ensure is that there’s always juice in the wick when we vape.
This means you shouldn’t “dry burn” your coils, because most wicks are made from cotton and will simply get ruined without juice there to protect them. For ceramic wicks, dry burning is fine, and you can get away with short bursts for silica, but not for cotton.
There’s less of a risk when you have juice in your wick, but you still have to take some steps to protect your coil. When you hit the fire button, you deplete the juice in the wick, and we need to make sure our devices are set up so that the flow of new e-liquid can keep up with the rate we’re vaporizing it.
That’s the key point for how to stop your coil from burning. But what does this mean from a vaper’s perspective? What do we actually need to do?
6 Ways to Stop Your Coil From Burning
The best ways to stop your coil from burning are:
1.Prime your coils
2.Stop chain vaping
3.Reduce power settings
4.Keep your vape tank topped up
5.Use an e-liquid with more PG
6.Try an e-liquid with less sweetener
Let’s all explore all these in more detail!
1 – Prime Your Coils Before Vaping
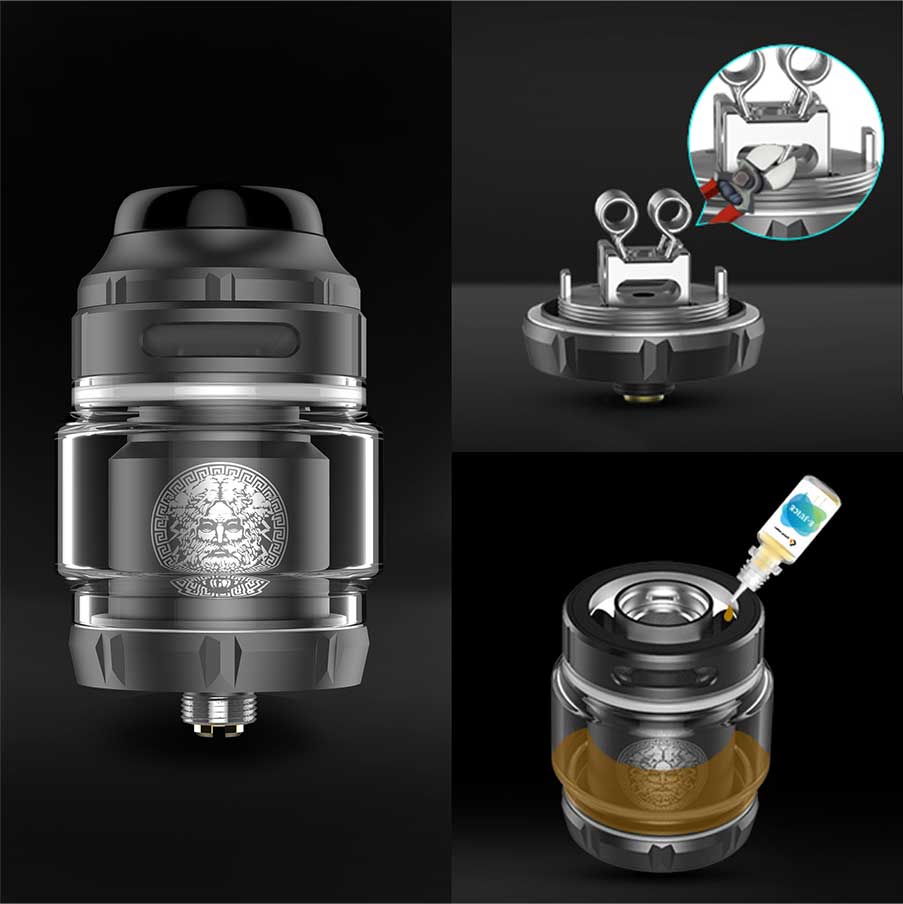
If you don’t “prime” your coils before you start vaping, you can burn your coil before you’ve even gotten any use of out of it.
When you first install a new coil, the wick has to go from being completely dry to completely soaked. This takes time, so you usually have to wait five minutes or so between filling up your tank and taking your first puff. If you wait long enough, priming isn’t strictly necessary, but the problem is that it’s really hard to tell whether your wick is completely soaked. And if it isn’t, when you press fire, there isn’t enough juice there to absorb the heat, and this causes the problems described above.
Priming your coil is just manually soaking the wicks before you install it. Coil heads tend to have an opening in the top and some ports around the side where the wick is visible. To prime the coil, add a few drops of e-juice to the opening in the top (around 3 to 5 is enough) and then soak the exposed wick at the ports around the side. This doesn’t take much for each port, but just ensure the parts you can see are saturated with e-juice.
Alternatively, some vapers take a few puffs on their e-cig without pressing the fire button as a method of priming the coil, which forcefully sucks e-liquid into the wickl. Be careful if you try this, though, because if you do it too much it can flood your coil.
Now your new coil is ready to go. But, as an extra precaution, it’s still better to wait about five minutes after you fill up your tank before you start vaping. This shouldn’t be needed (since you already soaked the wick), but if you don’t prime your coil properly the whole thing can get ruined, so it’s worth being absolutely sure.
2 – Stop Chain Vaping

“Chain vaping” – just vaping and vaping continuously until you can’t see your e-cig for all the clouds – can lead to a burnt wick too. The reason for this is the balance mentioned earlier: you need to ensure that your wick can re-saturate with juice before you hit the fire button again. In normal use, this isn’t a problem, because you’ll stop vaping after a short session and give it time to recover. However, if you’re continuously vaping for a long period of time, eventually your wicks will dry out. Then if you vape again you’ll risk burning the wick.
The solution to this is simple: stop vaping for a little while. The biggest sign that you need to stop is diminishing flavour. This is a sign there isn’t much juice in your coil and you’re approaching a burning situation. Your wick needs time to get soaked again, like a “re-priming.” Since the coil will be hot, the simplest thing to do is just stop vaping for 5 to 10 minutes and let your tank do its job.
3 – Reduce Your Power Setting
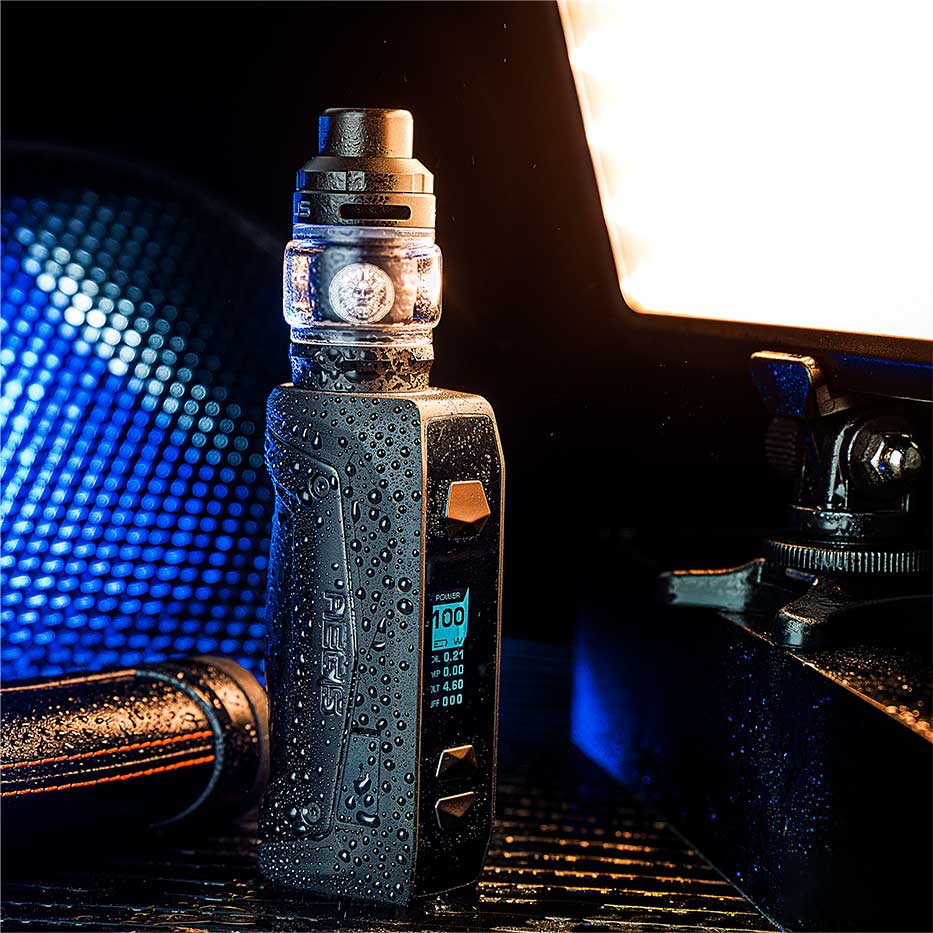
When you vape at a higher wattage, you vaporise more juice with each puff. This is great if you want big clouds, but it can also impact your coils. Since you’re vaping e-juice at a faster rate, sometimes your wick struggles to soak up juice quickly enough to keep up. And when it can’t keep up, you can burn your wick. It’s a lot like the issue with chain vaping, except it happens after much fewer puffs.
The solution is to just reduce your power setting. If you notice the flavour dying out, then your coil is probably getting dry and needs time to soak up juice. You’ll need to have a break (as above) when this happens, but to make it less likely to happen again, just reduce your wattage a little bit.
Ordinarily, there will be some indication of the range of wattages you should be using on the coil itself, so if you stick to this range you shouldn’t run into issues. It’s best to start at the lower end and work your way up. However, if you’re experiencing loss of flavour and your coils are burning at your current setting, decreasing the power is the simplest solution.
4 – Keep Your Vape Tank Topped Up
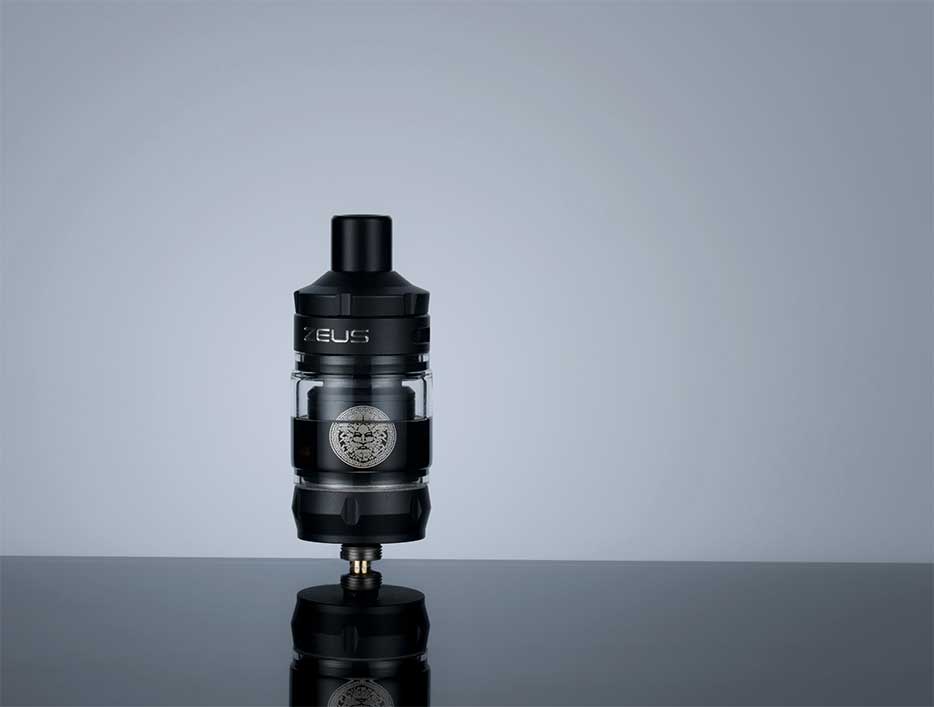
If the amount of juice in your tank is low, it might not be able to soak into your wicks as well. On many coil heads, the juice has to be at a certain level to even reach the wicking ports. When less of the juice is in contact with the wick, it doesn’t get soaked up as quickly. When your juice level is really low, this can cause problems very easily.
The simplest solution to this is to keep your tank topped up. When the performance starts to get worse and the flavour diminishes, it’s probably time to give up on the juice in the tank and refill. You can empty it out first if you don’t want the flavours to mix. Alternatively, you can often rotate your tank so the liquid does soak the wicks. This is less reliable, though, and it gets really hard when your juice level gets too low, so refilling is the best approach.
5 – Use an E-Liquid with More PG
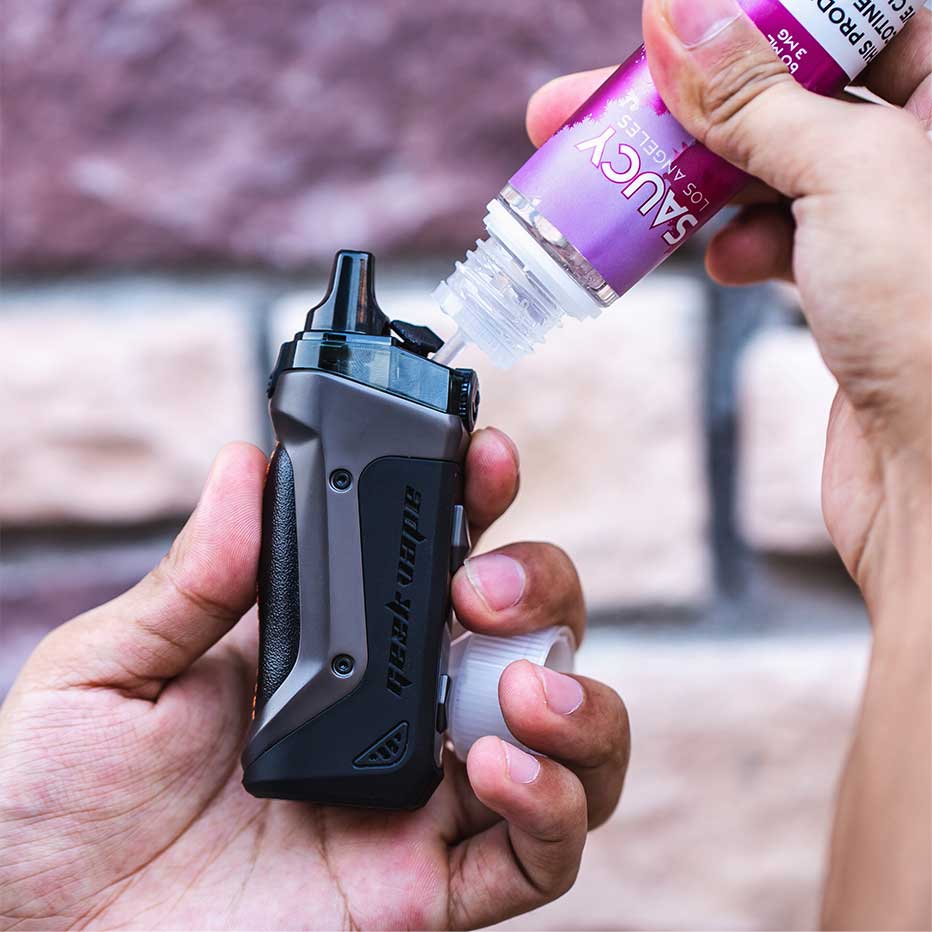
PG is thinner than VG, and that means it soaks into wicks more easily. This has important consequences for that balance we need to strike between the speed of wicking and the speed of vaporisation. If your juice doesn’t soak into the wick as quickly, you’re more likely to run into dry puffs and possibly burn your wicks.
This means that juices with a high VG content (70 % or higher) can cause problems with wicking and may ruin your coils. So if you’re regularly running into issues with dry puffs and burnt coils, it could be the e-liquid you’re using. Try changing your high-VG e-liquid for one with around a 50/50 mix or primarily PG, such as Halo Vapour Co e-liquid.
This isn’t always a problem, though. Sub ohm tanks, for example, are often well set up to deal with higher-VG juices. However, if your tank doesn’t have excellent wicking, they could easily cause an issue.
6 – Try an E-Juice With Less Sweetener
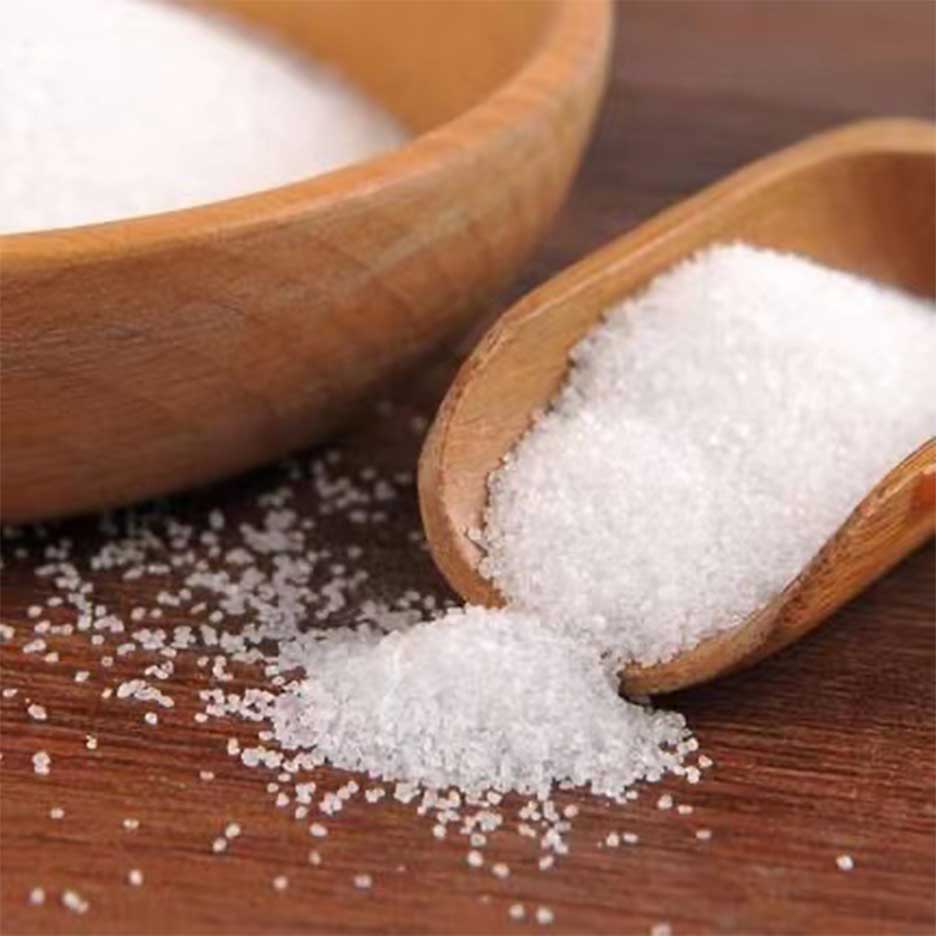
When an e-juice has a lot of sweetener added, it can “gunk” up your coils. The sugars in the e-liquid can caramelise, which is delicious if you’re talking about a dessert, but it’s also a reliable way to destroy your coils. The gunk-filled wick can’t soak up new juice as well, and so when you vape, you cause the same sort of problems discussed throughout this post.
Although this is often related to sweetener, there are many different juices that are prone to gunking up coils. Coffee and heavy, dessert-inspired e-liquids are common culprits, but there are others too . In general, darker-coloured juices are more likely to impact your wicks and coils than clearer juices. If you have a gunked up coil, you can clean the wicks to attempt to solve the problem, either using water or some strong grain alcohol (or anything clear, strong and drinkable – not rubbing alcohol). If you do this, though, you have to leave it for 24 hours (or longer) to completely dry out before you use it again.
Not everyone agrees when it comes to cleaning coils, though. Not only are there different methods, a lot of the time you still won’t be able to get the coil back in tip-top condition even after a thorough clean. This is especially true if you’ve already tried to vape with the gunked up coil and damaged the wick in the process.
Really, the easiest solution is to just use a different e-juice without as much sweetener in. You’ll have to sacrifice the coil that’s already gunked up, but it will help you avoid the issue altogether in future.

